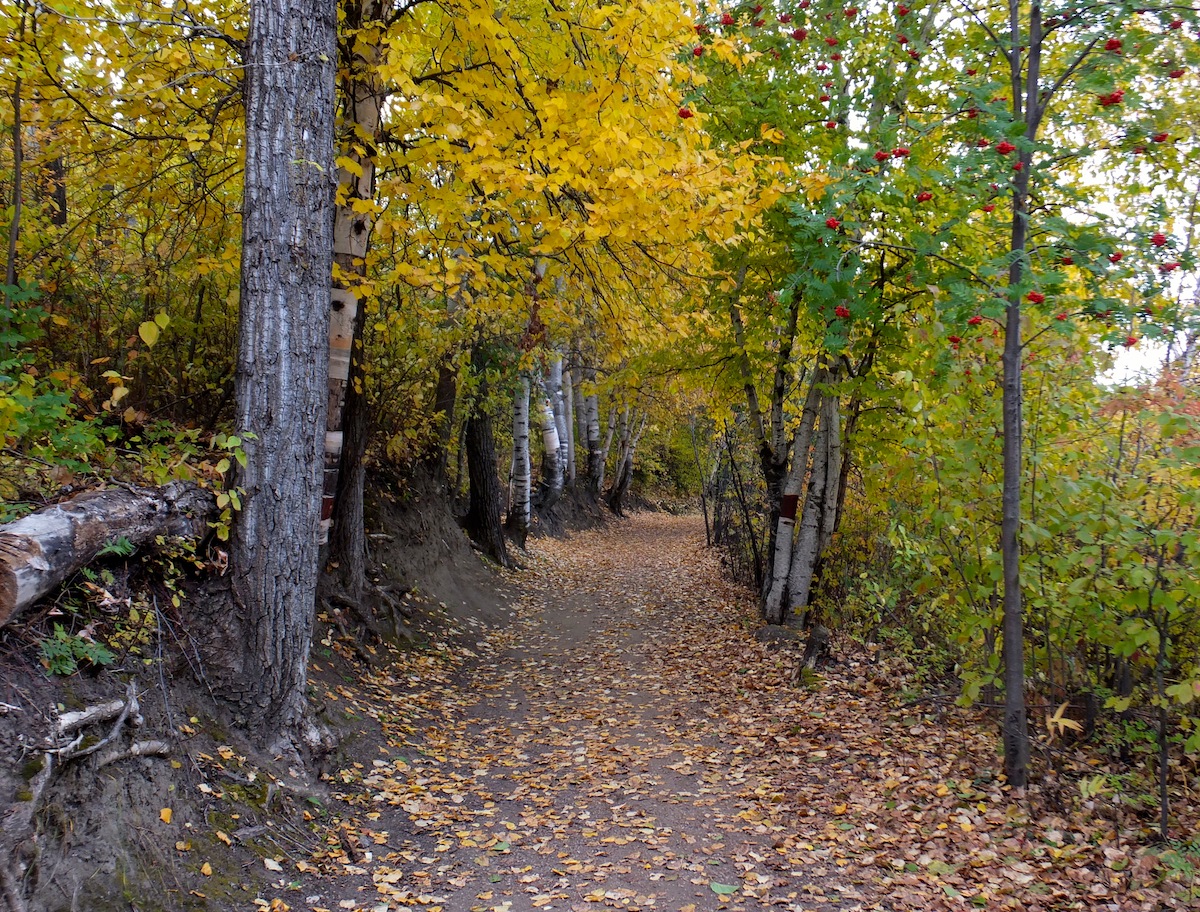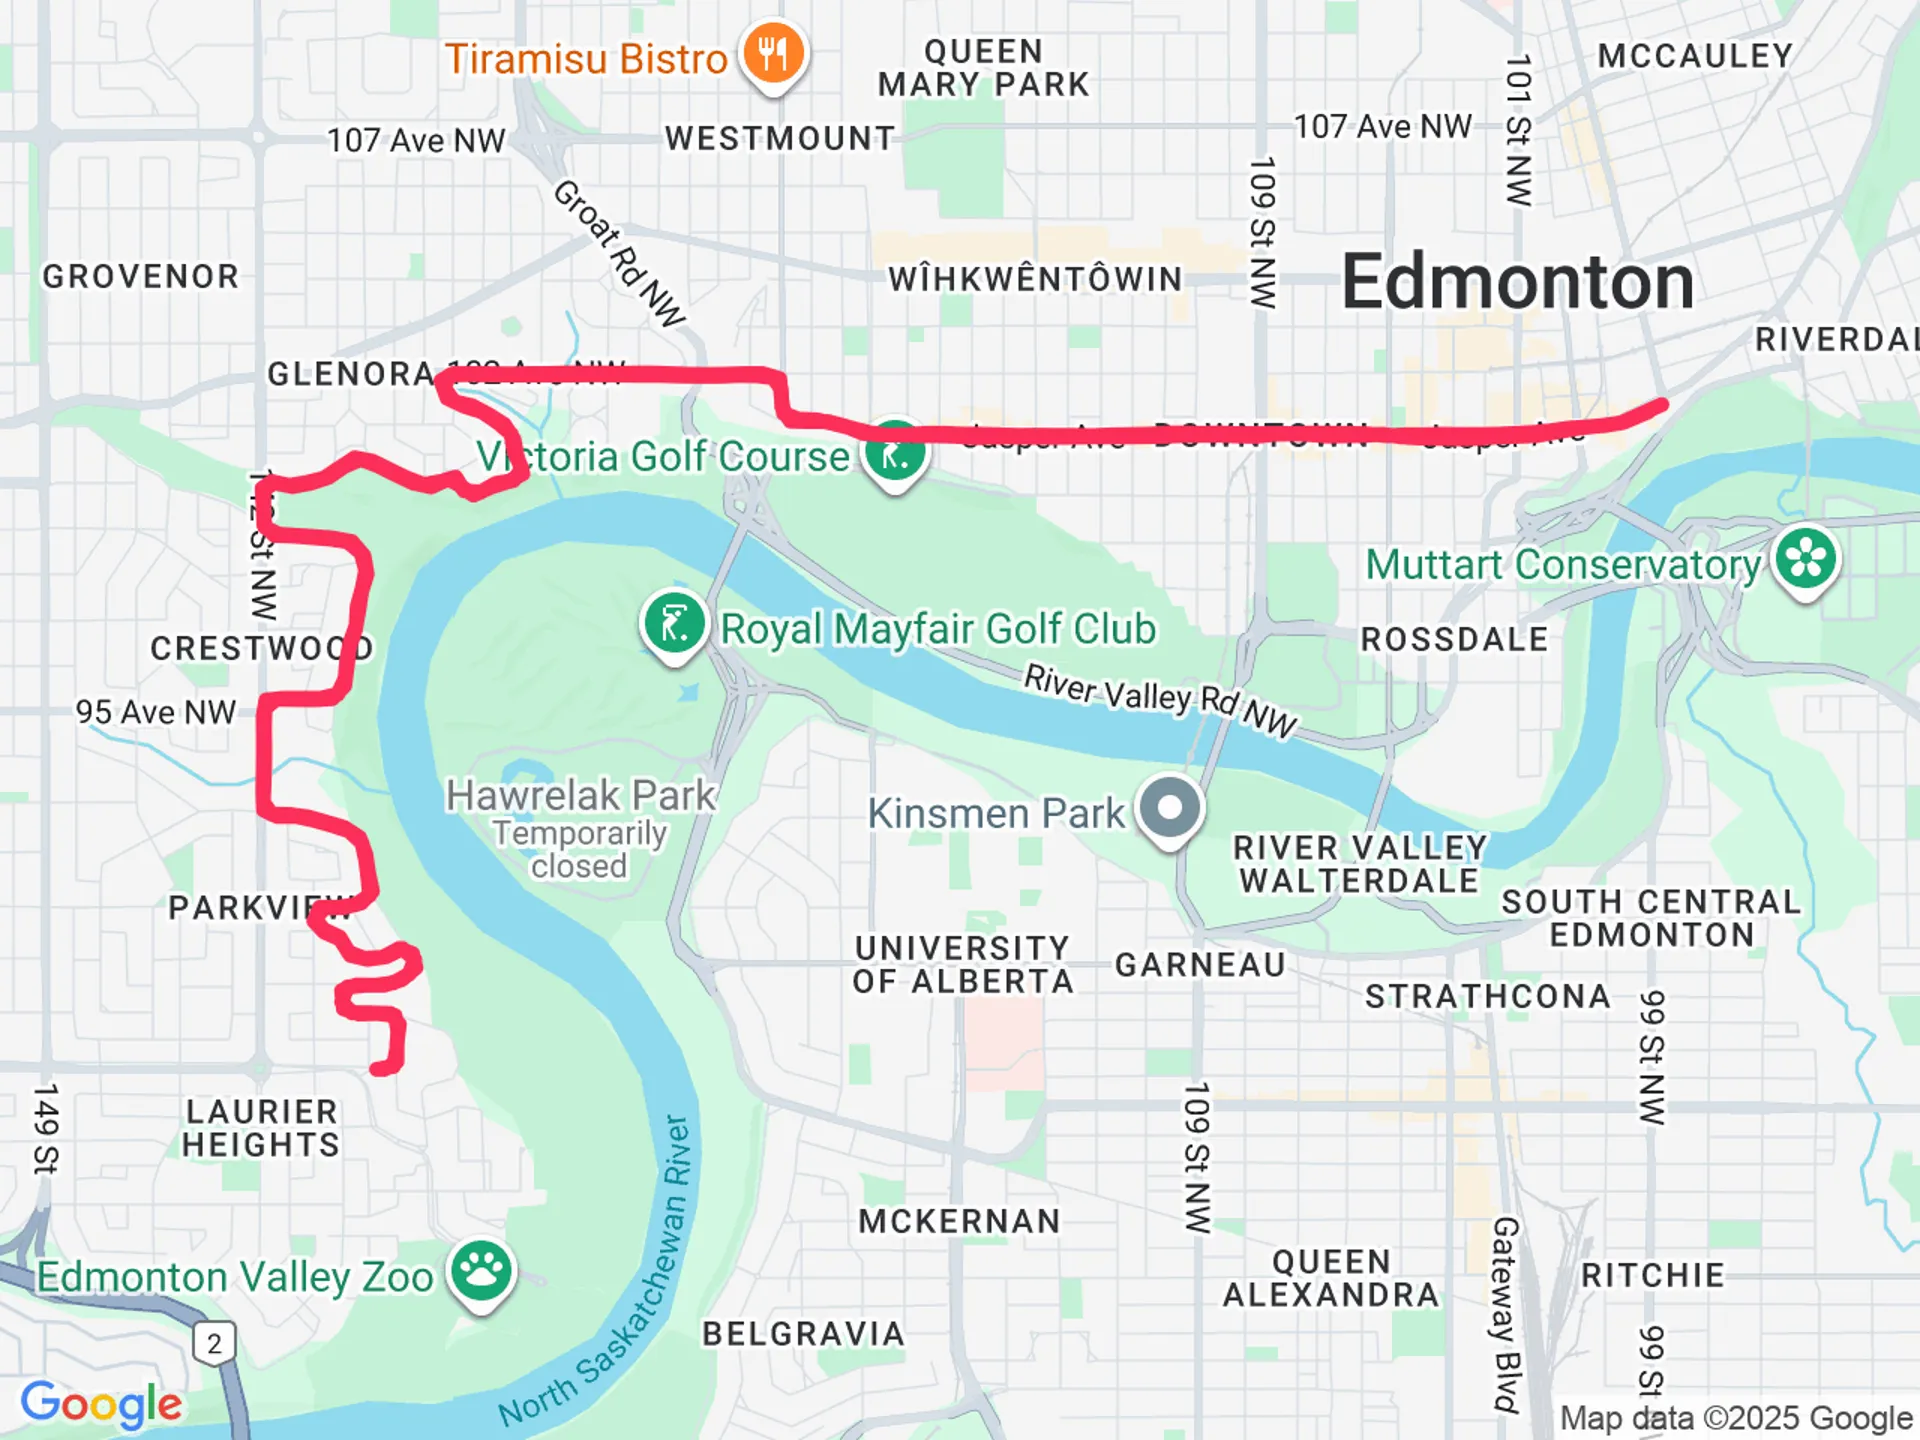
Every spring and every September, the same thing happens across Edmonton. People come off a slow winter, look at the river valley trails, and decide it’s time to run farther, bike harder, or finally train for that 10K. Two weeks later, half of them are icing a sore knee or nursing shin splints. Knowing how to prevent injury when increasing outdoor activity in Edmonton isn’t complicated, but it does take a plan. This guide walks you through that plan step by step, from checking your starting point to building strength that actually holds up on river valley hills. It’s built for beginners and returning exercisers, and if you follow it in order, expect to spend 4 to 6 weeks ramping up safely before you’re training at full intensity.
Last reviewed:
- Tools needed: A pair of proper-fitting shoes for your activity, a smartphone or basic fitness tracker, ice grips or trail shoes for winter months, a foam roller or resistance band, and access to a River Valley trail or neighborhood loop.
- Time: 4 to 6 weeks to build a safe base, with 20 to 40 minutes per session, 3 to 5 sessions a week.
- Difficulty: Beginner to Intermediate.
Step 1: Assess Your Current Fitness Baseline
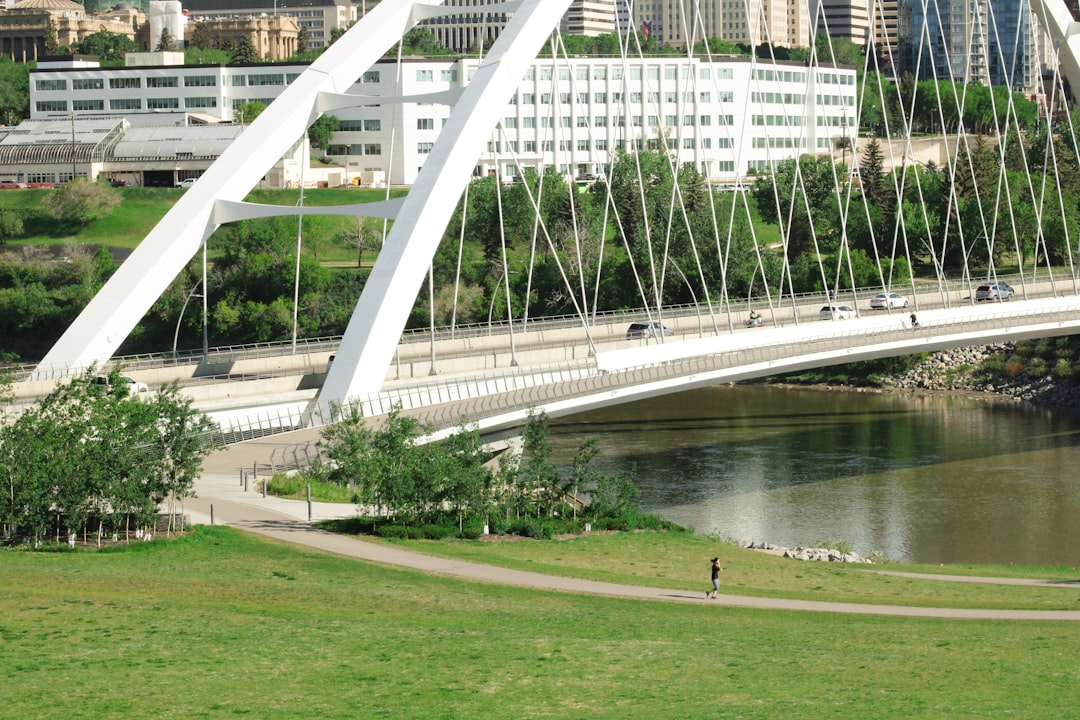
The first move in any plan to prevent injury when increasing outdoor activity is knowing exactly where you’re starting from. Too many Edmontonians jump from a sedentary winter straight into a 5K training plan because the weather finally cooperated. That gap between what your body has been doing and what you’re asking it to do is where injuries come from. Before you add a single kilometre or a single hill repeat, spend a week figuring out your actual baseline.
Do a Simple Self-Check Test
Walk or jog for 12 minutes at a pace you could hold a conversation in. Note your heart rate, breathing, and how your joints feel afterward, not just during. If your knees or hips ache the next morning, your baseline is lower than you think. This isn’t a fitness test to pass or fail. It’s a data point for building week one of your plan.
Fitness Outdoor Movement In Edmonton covers this in more detail.
Identify Old Injuries and Risk Factors
- List any past sprains, stress fractures, or tendon issues from the last five years
- Note if you sit most of the day, since tight hip flexors from desk work change how your knees track when you run or hike
- Check your footwear. Shoes older than 500 to 700 km of use lose shock absorption
Get a Professional Assessment if Needed
If you’re over 40, returning after a pregnancy, managing a chronic condition, or coming back from a previous injury, book a movement assessment with a physiotherapist before you ramp up. Clinics around Whyte Avenue and Oliver commonly run these for $90 to $130 a session, and it’s a lot cheaper than six weeks of treatment after a stress fracture. For a broader look at how structured and informal movement fit together locally, the guide to fitness and outdoor movement in Edmonton is a good starting reference point.
Step 2: Build a Gradual Progression Plan
This step matters most if your real goal is to prevent injury when increasing outdoor activity during Edmonton’s short outdoor season. The instinct is to make up for lost winter months fast. Resist it. Overuse injuries, tendonitis, shin splints, and stress fractures almost always come from doing too much too soon, not from a single bad step.
How To Build An Outdoor Fitness Routine Edmonton covers this in more detail.
Apply the 10 Percent Rule to Weekly Volume
Increase your weekly distance, time, or intensity by no more than 10 percent from the week before. Mayo Clinic’s sports injury prevention guidance points to gradual increases in training load as one of the most reliable ways to avoid overuse injuries. If you walked 10 km last week, aim for 11 km this week, not 15.
How To Choose Between Gyms And Outdoor Fitness Edmonton covers this in more detail.
Use a Sample 4-Week Ramp-Up Schedule
| Week | Sessions | Total Weekly Volume | Focus |
|---|---|---|---|
| 1 | 3 | Baseline (e.g. 8 km walking/jogging) | Establish pace and form |
| 2 | 3 | +10% (about 8.8 km) | Add one short hill segment |
| 3 | 4 | +10% (about 9.7 km) | Introduce uneven trail surface |
| 4 | 4 | Hold volume, add intensity | One faster interval session |
Schedule Rest Days Into the Plan
- Take at least one full rest day every week, two if you’re over 50 or new to exercise
- Alternate hard days (hills, intervals) with easy days (flat, conversational pace)
- Plan a lighter “deload” week every fourth week, cutting volume by 30 to 40 percent
For a longer-term structure that spans an entire outdoor season, see this guide on how to build an outdoor fitness routine in Edmonton.
Outdoor Fitness Classes Edmonton Summer covers this in more detail.
Step 3: Warm Up and Cool Down Every Session
Cold muscle tissue tears more easily than warm tissue. In a city where the temperature can swing 15 degrees between your driveway and the river valley floor, skipping a warm-up is one of the fastest ways to pull a hamstring or strain a calf.
Run a Dynamic Warm-Up Routine
- Leg swings, front to back and side to side, 10 reps per leg
- Walking lunges, 10 per side
- High knees and butt kicks, 20 metres each
- Two to three minutes of brisk walking before you pick up the pace
Budget 8 to 10 minutes for this in cooler months, and don’t skip it even when you’re short on time. It’s the cheapest injury insurance you have.
Cool Down and Stretch After
Spend 5 minutes walking at an easy pace to bring your heart rate down gradually, then hold static stretches for calves, hamstrings, hip flexors, and quads for 20 to 30 seconds each. This is when tissue is warmest and most responsive to lengthening.
Adjust Warm-Up Time for Cold Weather
Below minus 10°C, double your warm-up time and do it indoors if possible, even if that means a few minutes in your garage or apartment hallway before you head out. Muscles and connective tissue stay stiffer longer in cold air, and joints take more time to loosen. If you’re curious about structured outdoor sessions with a coach managing this for you, check out outdoor fitness classes in Edmonton this summer for options that build proper warm-ups into every class.
Step 4: Pick Routes and Surfaces That Match Your Stage
Route choice plays a bigger role in your ability to prevent injury when increasing outdoor activity than most people expect. Edmonton’s river valley is a gift, but it’s not one uniform surface. Packed gravel, root-covered singletrack, and paved multi-use paths all load your joints differently.
Start on Low-Impact River Valley Trails
Beginners should stick to paved or hard-packed paths for the first two to three weeks, like the stretches through Hawrelak Park or the paths along the river near Louise McKinney Park downtown. Save technical singletrack in areas like Whitemud Ravine for once your ankles and stabilizer muscles have adapted. The river valley trail network covers more than 160 km according to the City of Edmonton’s river valley parks information, so there’s no shortage of options once you’re ready to branch out.
Switch Between Pavement, Gravel, and Trail Gradually
- Introduce one new surface type per week, not all at once
- Trail running uses more ankle stabilizer muscles than road running, so cut your normal pace by 20 to 30 seconds per kilometre when you switch
- Reserve steep river valley hill climbs for after week three of your progression plan
Watch for Seasonal Surface Hazards
Ice under fresh snow on shaded trail sections is Edmonton’s most underrated injury risk from November through March. Black ice on the Victoria Park paths or the High Level Bridge stairs sends people to the emergency room every winter. In smoke season, typically late July through August, poor air quality changes the calculation entirely. If you’re not sure when to move a session indoors, read why smoke season affects outdoor fitness in Edmonton before you head out on a hazy day.
Step 5: Gear Up for the Season You’re In
Wrong gear doesn’t just make outdoor activity uncomfortable in Edmonton. It causes falls, frostbite, and overuse patterns from compensating for poor footing or overheating.
Get Traction and Footwear Right
- Buy ice grips or cleats ($25 to $50) once temperatures drop consistently below freezing, typically late October
- Replace running or walking shoes every 500 to 700 km, not by calendar age alone
- Choose trail shoes with wider lug patterns for anything off pavement, especially in spring mud season
Build a Layering System
Dress for a temperature 10 to 15 degrees warmer than the thermometer reads, since your body generates heat within the first 10 minutes of activity. A base moisture-wicking layer, an insulating mid layer, and a wind-resistant shell covers most Edmonton conditions from October through April. Overdressing leads to sweat-soaked layers that then chill you fast once you stop moving, which stiffens muscles and raises injury risk on the walk home.
Prioritize Visibility in Shorter Daylight
By late November, Edmonton loses daylight before 5 p.m. A reflective vest ($15 to $30) and a headlamp are not optional if you’re training after work. Alberta Health Services notes that cold exposure combined with reduced visibility raises the risk of both falls and cold-related injury during winter activity, and recommends checking wind chill before heading outdoors according to Alberta Health Services’ cold weather safety guidance. Below minus 25°C wind chill, move the session indoors entirely.
Step 6: Add Strength and Mobility Work Weekly
Strength work is the most overlooked way to prevent injury when increasing outdoor activity, especially once you’re past your late 30s. Cardio fitness improves faster than tendon and connective tissue strength, which creates a gap where you feel ready for more but your joints aren’t.
Follow a Two-Day Strength Routine
- Squats, 3 sets of 12, bodyweight or light dumbbells
- Single-leg deadlifts, 3 sets of 8 per side, to build ankle and knee stability
- Calf raises, 3 sets of 15, critical for anyone running or hiking hills
- Planks and side planks, 30 to 45 seconds each, for core support that protects your lower back
Two sessions a week, 25 to 30 minutes each, is enough to see a measurable difference in joint stability within four to six weeks.
Add Daily Mobility Drills
Spend five minutes a day on ankle circles, hip openers, and thoracic spine rotations. Tight hips and ankles are behind a huge share of knee pain in new runners and hikers, and mobility work is the cheapest fix available.
Know Where to Get Local Help
Physiotherapy and kinesiology clinics in Oliver, 124 Street, and Sherwood Park regularly offer movement screens for $80 to $150 that flag muscle imbalances before they turn into injuries. If you’re still deciding whether a gym-based strength program or outdoor-only training suits your goals better, this comparison of choosing between gyms and outdoor fitness in Edmonton breaks down the trade-offs.
Step 7: Track Recovery Signals and Adjust
The final piece of any plan to prevent injury when increasing outdoor activity is paying attention after the workout ends, not just during it. Injuries rarely appear out of nowhere. They show up as small warning signs first.
Learn the Difference Between Soreness and Injury
Normal muscle soreness peaks 24 to 48 hours after activity, feels dull, and improves with light movement. Injury pain is sharp, localized to a joint or tendon, and often gets worse with movement rather than better. A 2012 review of running-related injury research indexed on PubMed found that sudden spikes in training load were one of the strongest predictors of overuse injury, which is exactly why the 10 percent rule from Step 2 matters so much.
Monitor Sleep and Resting Heart Rate
- A resting heart rate 5 to 7 beats per minute above your normal baseline suggests you need a rest day
- Poor sleep for two nights in a row is a signal to scale back intensity, not push through
- Persistent fatigue that doesn’t improve after a rest day warrants a step back in your progression plan, not just a single day off
Pull Back Volume When Something Feels Off
If a joint or tendon aches for more than 48 hours, cut your volume by 50 percent for a week and reassess. Pushing through localized pain is how a minor strain becomes a six-week layoff. This is also a good point to revisit your overall plan using the outdoor fitness routine guide to rebuild a more conservative schedule if needed.
Common Mistakes to Avoid
- Increasing distance, speed, and terrain difficulty all in the same week instead of one variable at a time
- Skipping the warm-up because you’re short on daylight or it’s too cold to stand around outside
- Wearing summer running shoes on icy November trails instead of switching to grippier footwear
- Ignoring joint pain because “it’ll work itself out” once you’re warmed up
- Training outdoors on high smoke-advisory days instead of moving the session indoors
- Comparing your ramp-up pace to a friend’s instead of your own baseline fitness from Step 1
What’s Next
Once you’ve built a solid 4 to 6 week base without injury, you’re ready to add structure, whether that’s a River Valley running group, a masters swim session, or a proper strength program at a gym near Windermere or Downtown. Keep applying the same principle that got you here safely: small increases, real recovery, and gear that matches the season. Edmonton’s outdoor window is short enough without losing weeks of it to a preventable injury.
Related Articles
- Best Running Trails Edmonton River Valley: Where Locals Actually Run
- How to Train for a Half Marathon in Edmonton: A 16-Week Local Runner’s Guide
Sources & References
Find Trusted Wellness Spots in Edmonton
Browse our independent guide to Edmonton’s spas, fitness studios, and wellness services. Local. Honest. Free.
Frequently Asked Questions
How much should I increase my activity each week to avoid injury in Edmonton?
Stick to the 10 percent rule: increase your weekly distance, time, or intensity by no more than 10 percent from the previous week. This is the single most effective way to prevent injury when increasing outdoor activity, especially when Edmonton’s short season tempts people to rush.
What is the best time of year to start increasing outdoor activity in Edmonton?
Early spring, once sidewalks and river valley trails clear of ice, and early fall are both good windows since temperatures are moderate and daylight is reasonable. Avoid starting a new ramp-up plan during peak smoke season in late July or August, when air quality can force sessions indoors unpredictably.
Do I need special gear to prevent injury on icy Edmonton trails in winter?
Yes. Ice grips or cleats for your shoes, a base layer that wicks moisture, and a reflective vest for shorter daylight hours all reduce fall and cold-exposure risk. Budget $50 to $100 total for winter-specific gear before you commit to outdoor training past late October.
How do I know if pain from increased activity is normal soreness or an injury?
Normal soreness is dull, spread across a muscle group, and improves within 48 hours. Sharp, localized pain in a joint or tendon that worsens with movement is a sign to stop, rest, and consider a physiotherapy assessment at a clinic near Whyte Avenue or Oliver.
Where can I get a professional injury risk assessment in Edmonton?
Physiotherapy and kinesiology clinics across Oliver, 124 Street, and Sherwood Park offer movement screens typically priced between $80 and $150. Booking one before you significantly increase your outdoor activity is a practical way to catch muscle imbalances before they turn into injuries.